Banner Slider
Overview
Magento 2 Banner Slider is a powerful marketing tool that helps you create banner sliders with nice effects. Thanks to Mageplaza Banner Slider, you can customize the banners and sliders as you expect. Admins can easily choose the right place to display your desired banner, which can attract more eye-catching customers and encourage them to view banners as well as get the information you want to share.
Magento 2 Banner Slider Extension supports you to create carousel image slider, image scroll and LightBox video. Also, this extension also supports images. It's completely responsive on iPhone, iPad, Android, Firefox, Chrome, Safari, Opera and Internet Explorer.
How to configure
1. Configuration
Login to the Magento Admin, choose Store > Configuration > Mageplaza > Banner Sliders
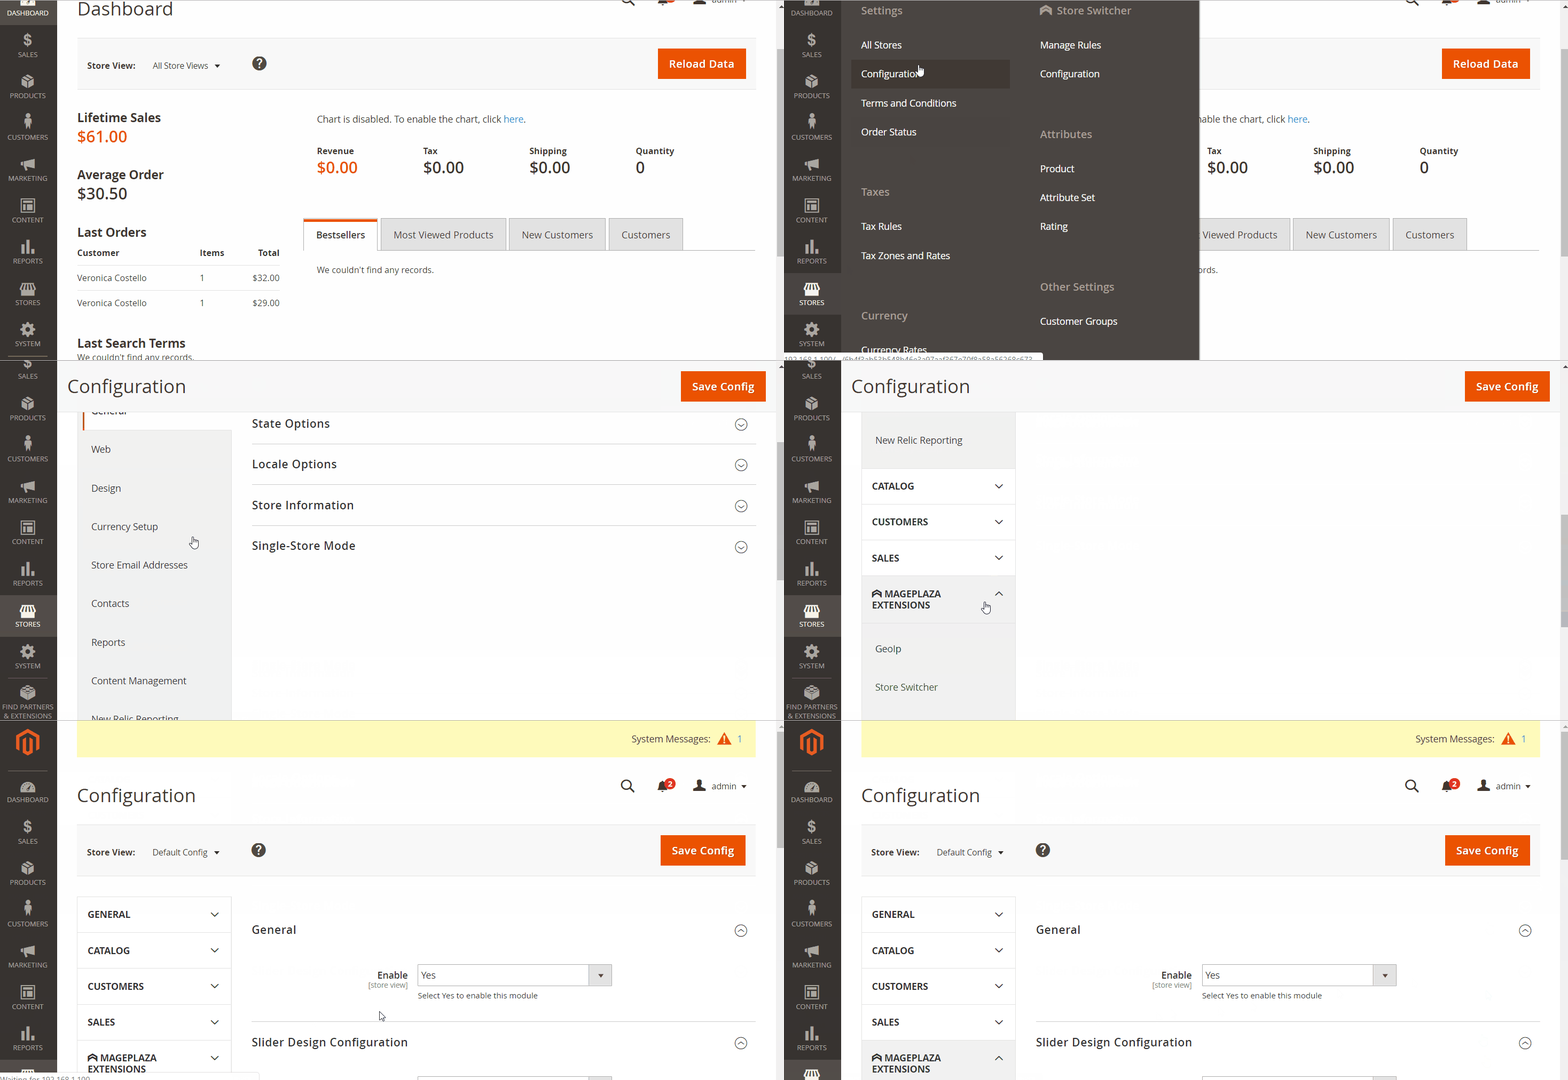
1.1. General

Enable: Choose Yes to enable this module or choose No to disable it.
1.2. Slider Design Configuration
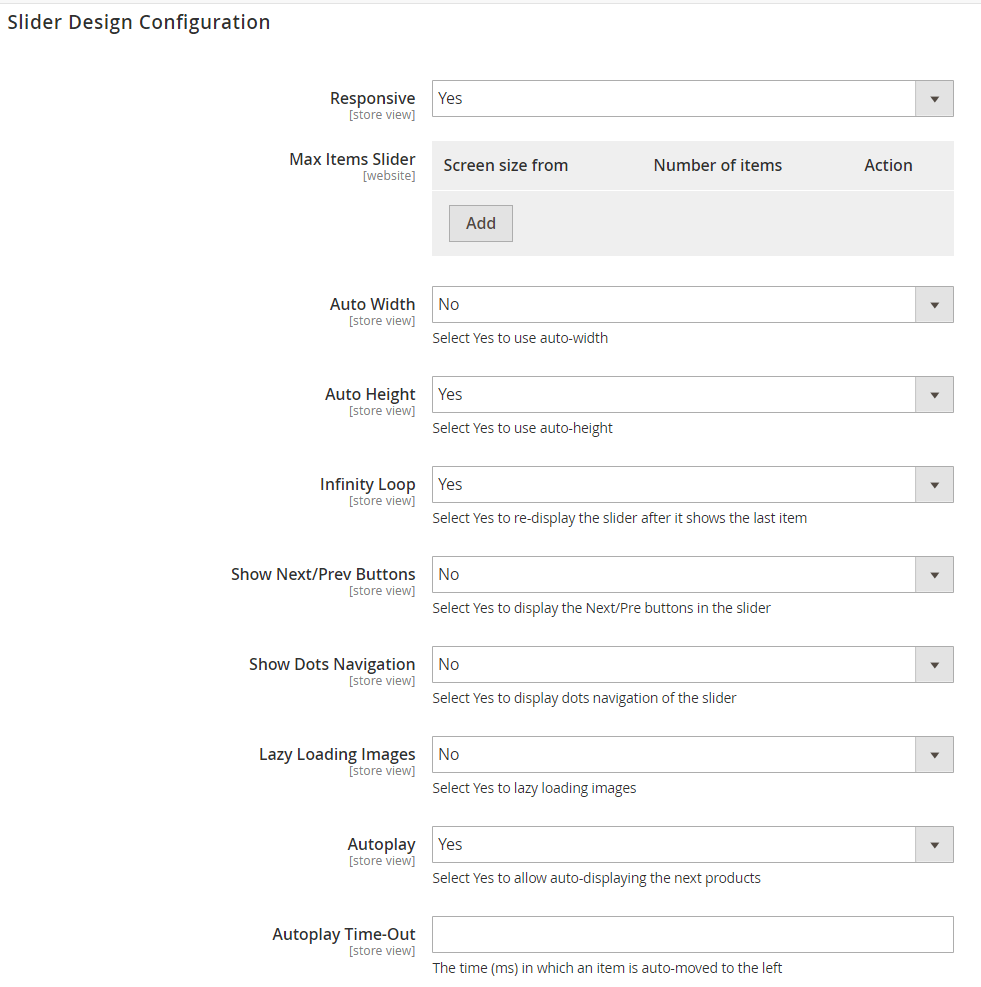
Responsive:- Choose "No" so that the number of banners displaying on the browser is default (1 banner)

- Select "Yes" so that the number of banners displaying on the sliders can be changed. You can change the
Screen size fromandNumber of itemsin theMax Items sliderfield. For example: Screen size max = 1000, Number of item is 3, the user interface will look like this:

Auto Width: Choose "Yes" to use Auto Width
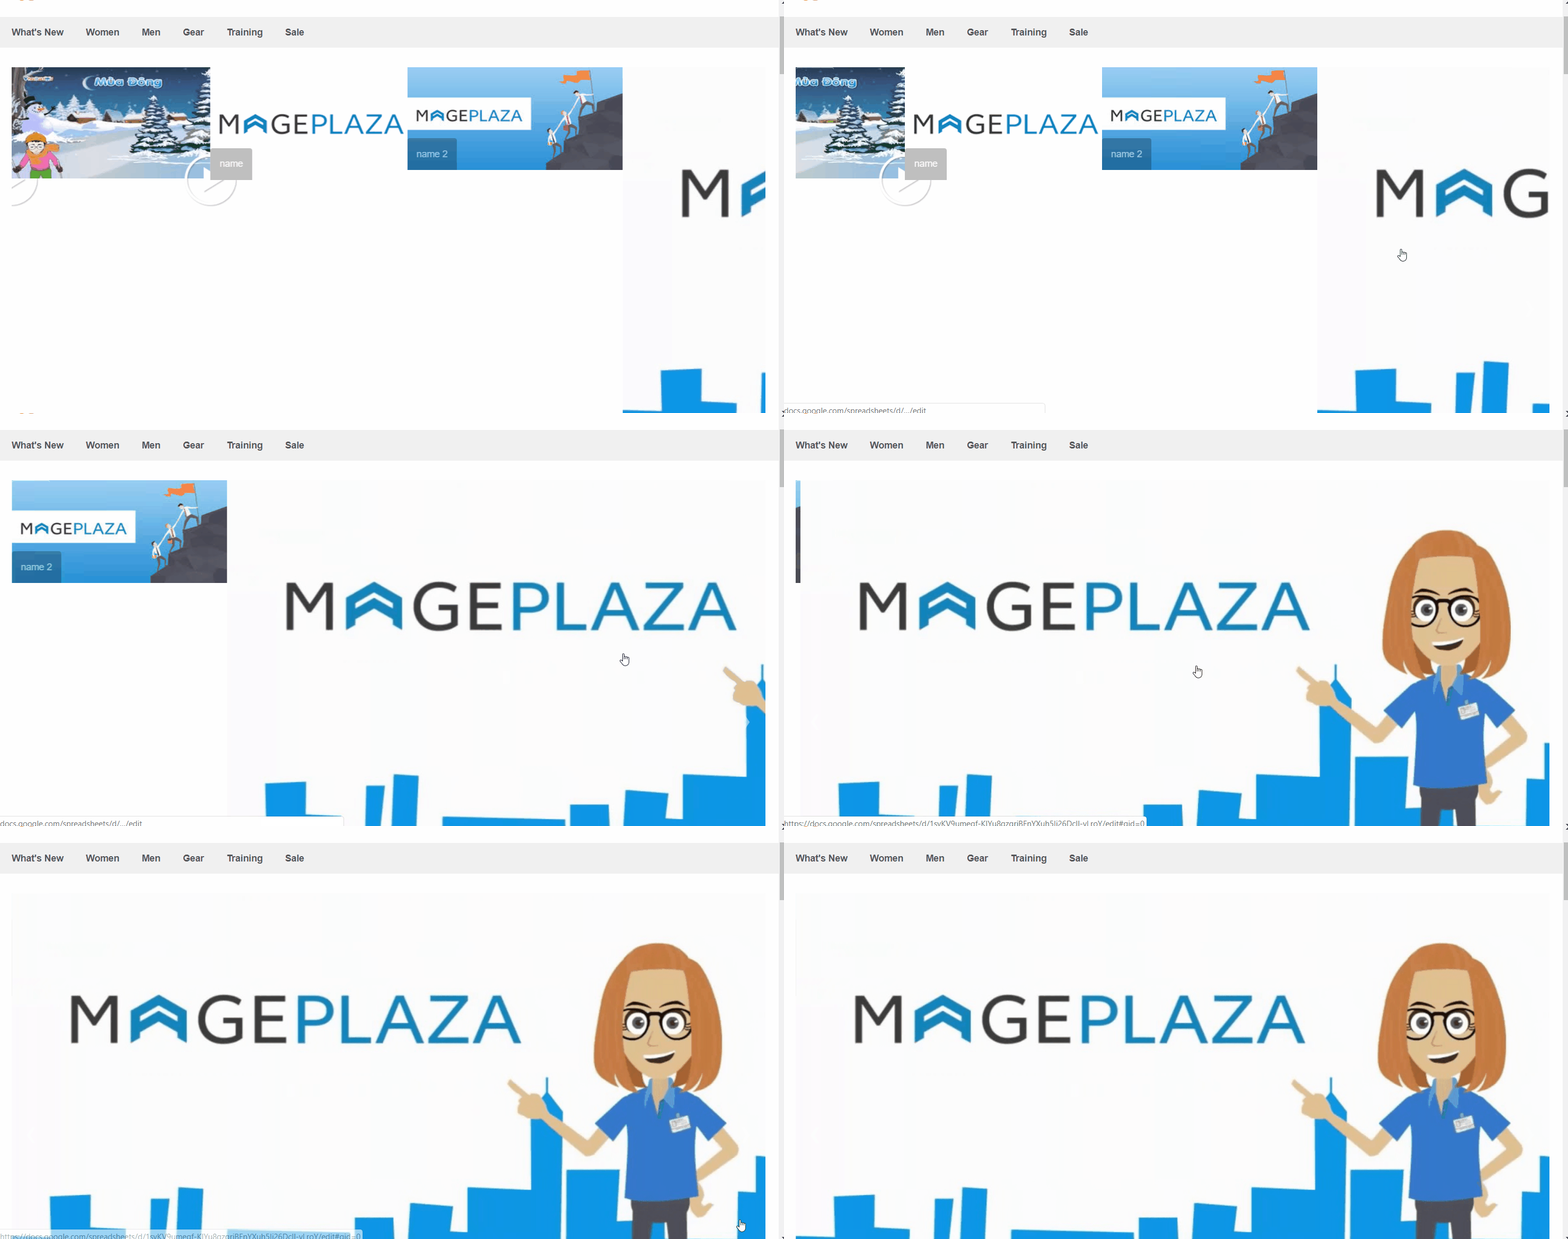
Note: Use width style on elements to get the result you want. If using with infinity loop, add option 'items' more than 1. It all depends on the width of your content.
Auto Height: Choose "Yes" to use Auto Height
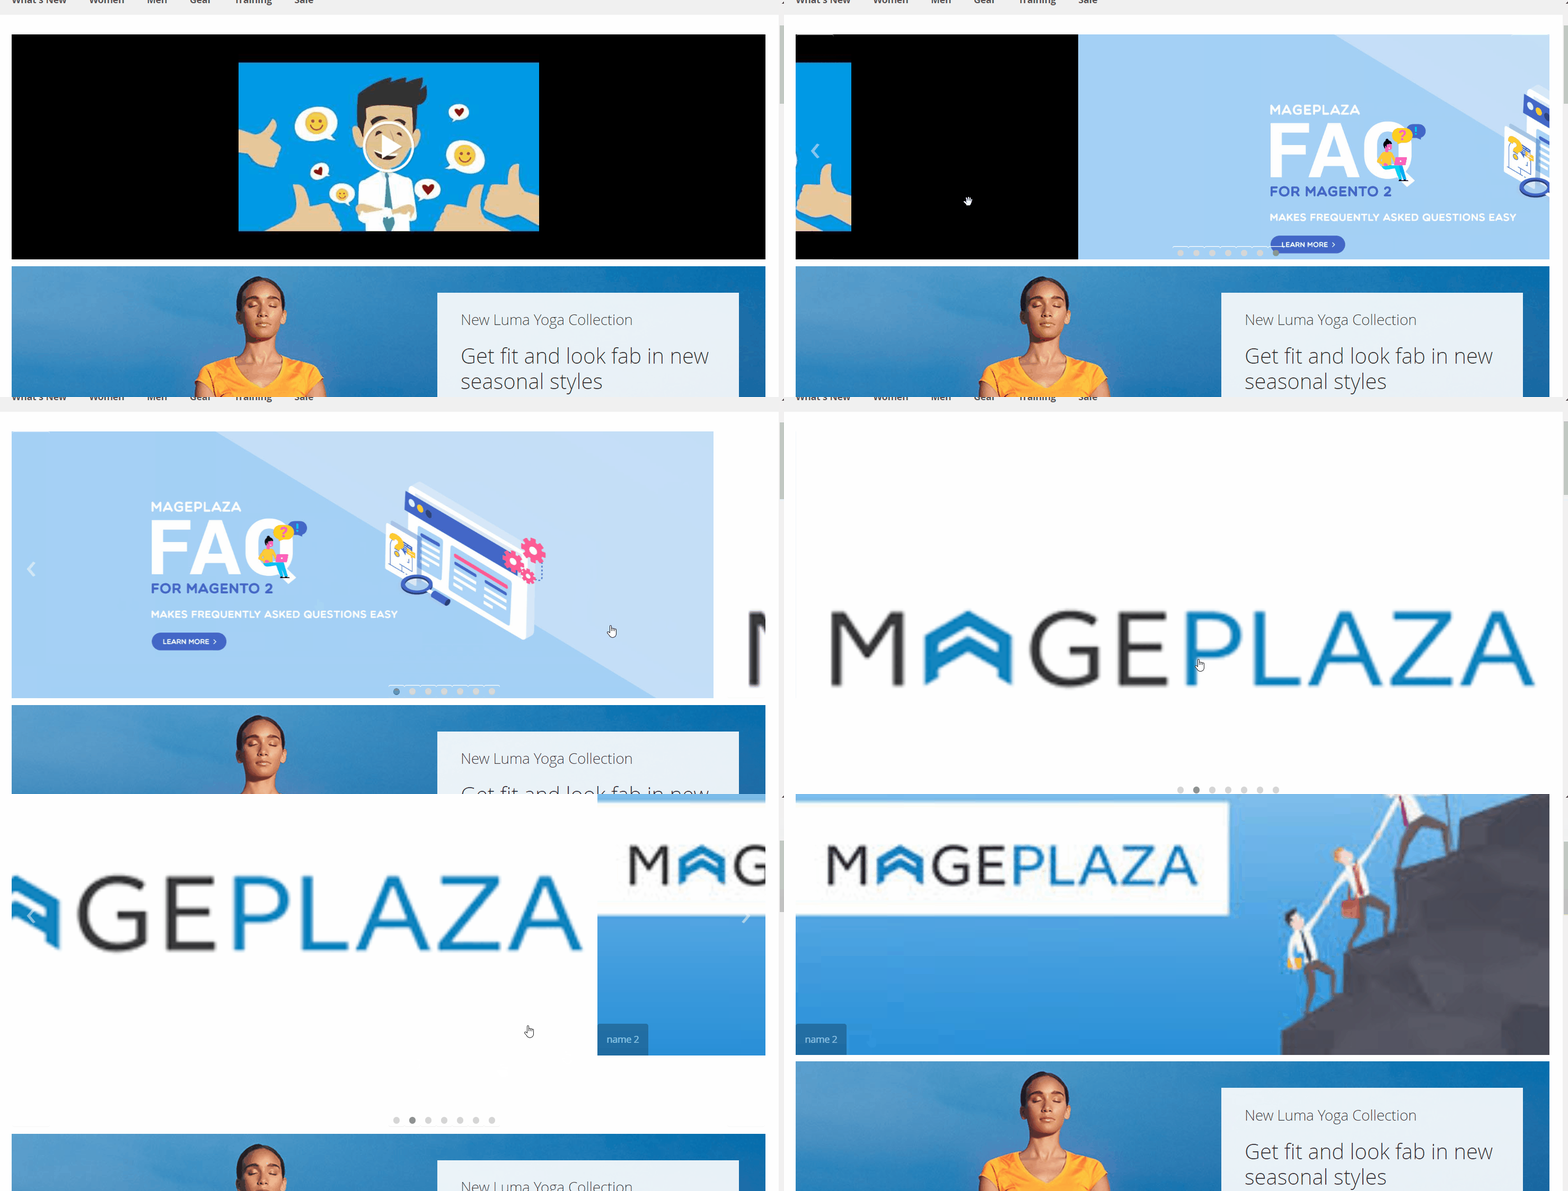
Infinity Loop: Choose "Yes" to re-display sliders after it show in the last item.

Show Next/Pre buttons:- You can choose Yes to show Next/Pre buttons on the user interface when you ant to view the detail product
- When you click on Next/Pre button, the slider will move the product to be left or right.

Show Dots Navigation: Can choose "Yes" in this field to display the dot that represents for the page number of the sliders.

Lazy Load Images: Set "Yes" so that Lazy load is displayed when loading images.Autoplay: Select "Yes" so that the products on the slider will automatically move to the left for a certain time when installed in theAutoplay TimeOut. TheAutoplay TimeOutfield will be displayed.

Autoplay TimeOut: Set the speed at which the product moves to the left.
2. Manage Banner
How to Create New Banner
From the Admin Panel, go to Content > Banner Sliders > Manage Banners, choose Add New button in the right corner
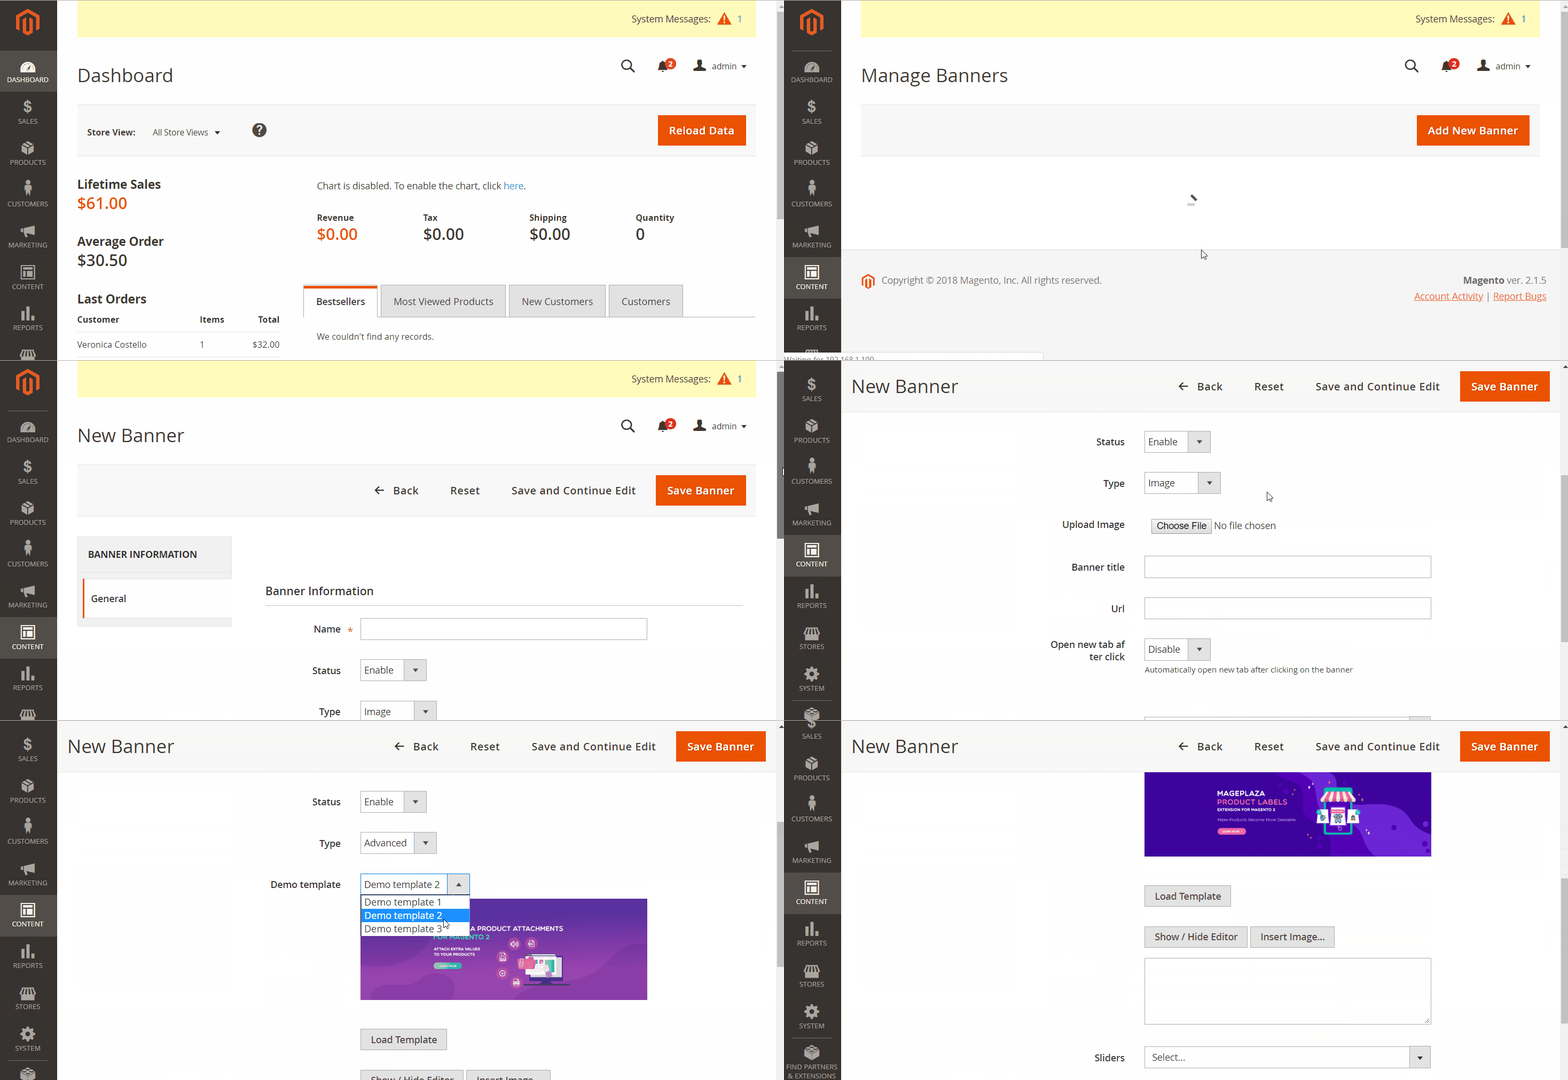
Banner Information
Enable: Enter a name for Banner. It helps to distinguish from other products.Status: Select "Enable" so that the banner worksType: Choose the type of banner you want to display:Type = Image: This will display more fields:Upload Image: Click "+" button to upload Image for the banner.Banner title: Fill the title for the banner that will be displayed on the user interface.URL: Enter Url for the banner that will show in the address bar when clicking on banner.
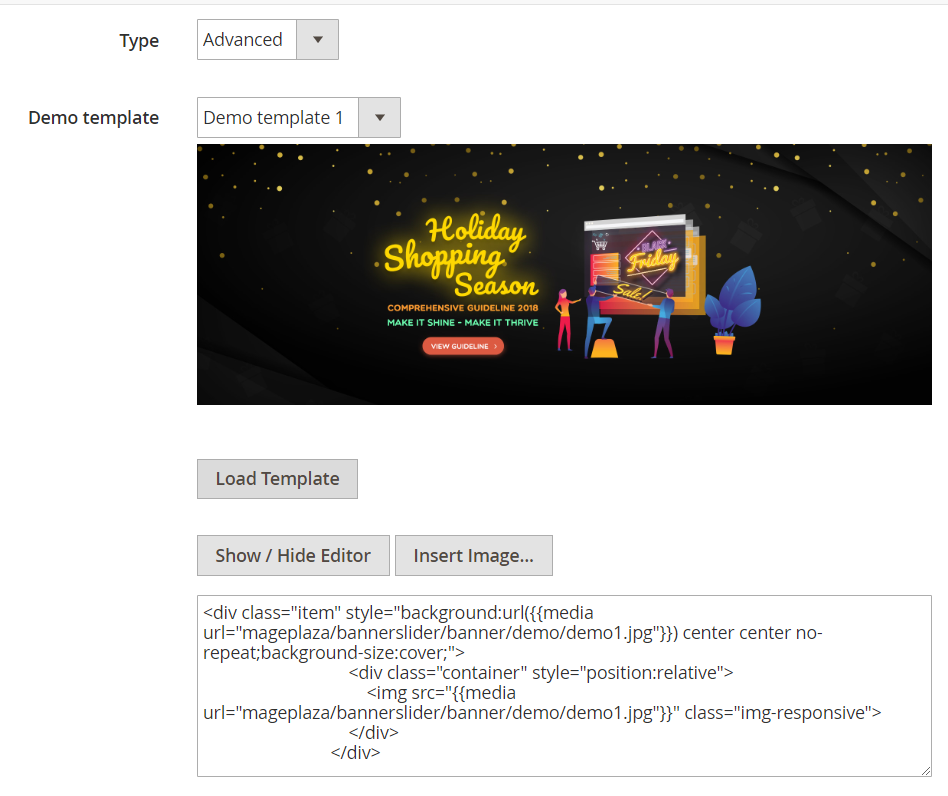
Type = advanced: This will show the toolbar so that you can edit the banner image. In this section, you can upload more banners at the same time. Show moreDemo templatefield and choose the demo template as the following:Demo Template 1:
Demo Template 2: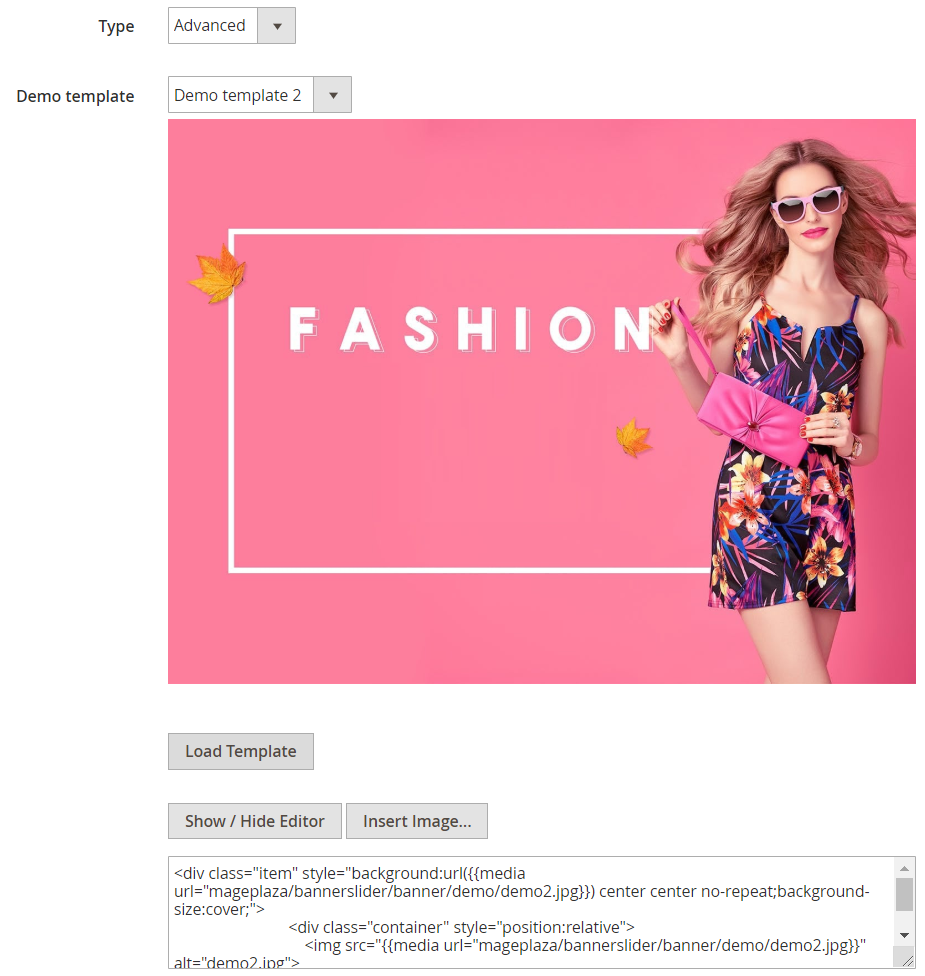
Demo Template 3: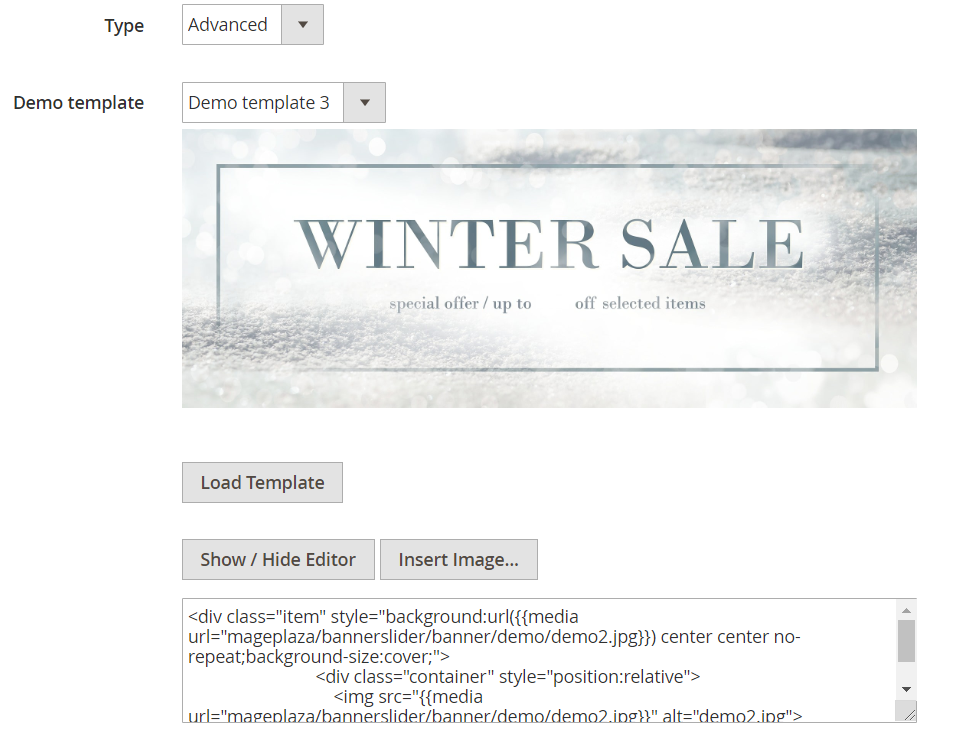
Demo Template 4: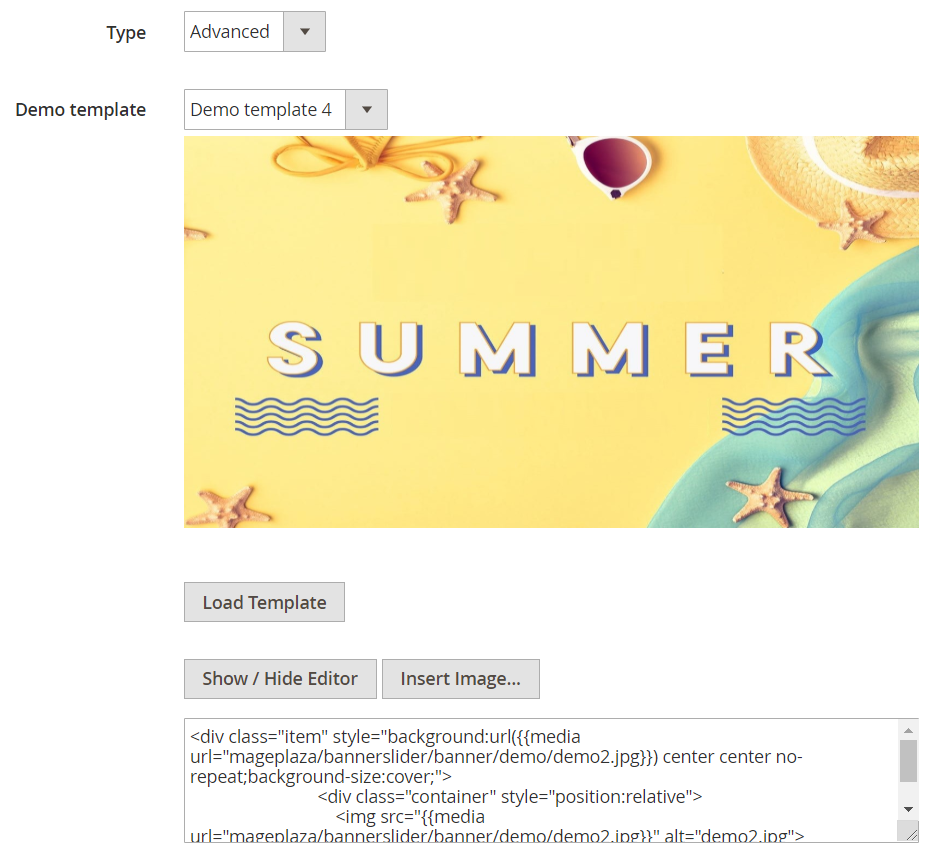
Demo Template 5: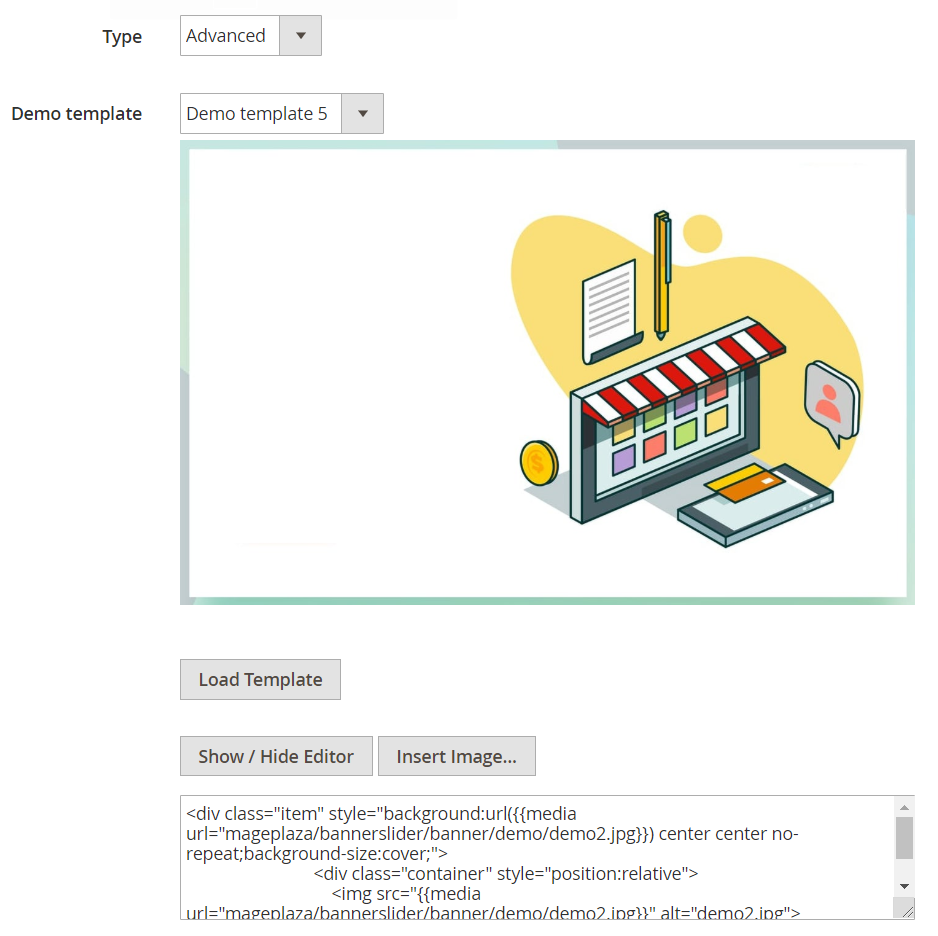
Note:
- Click
Load Templatebutton to show the template image - Choose
Show/Hide Editorto display the code or the image of the template Insert Image: Ability to add more images for the banner and add more images at the same time. You should add the image when movingShow/Hide Editorinto the code format so that it's convenient and avoids occurring the error.
Open new tab after click:- Select "Yes" so when you click on the banner, it will display a new tab to view the banner information that you want to advertise.
- Selecting "No", it will automatically re-upload the page when you want to view the banner information.
Slider: Select the slider you want the banner to display there.
3. Manage Slider
How to Create New Slider
From the Admin Panel, go to Content > Banner Sliders > Manage Slider, choose Add New button in the right corner
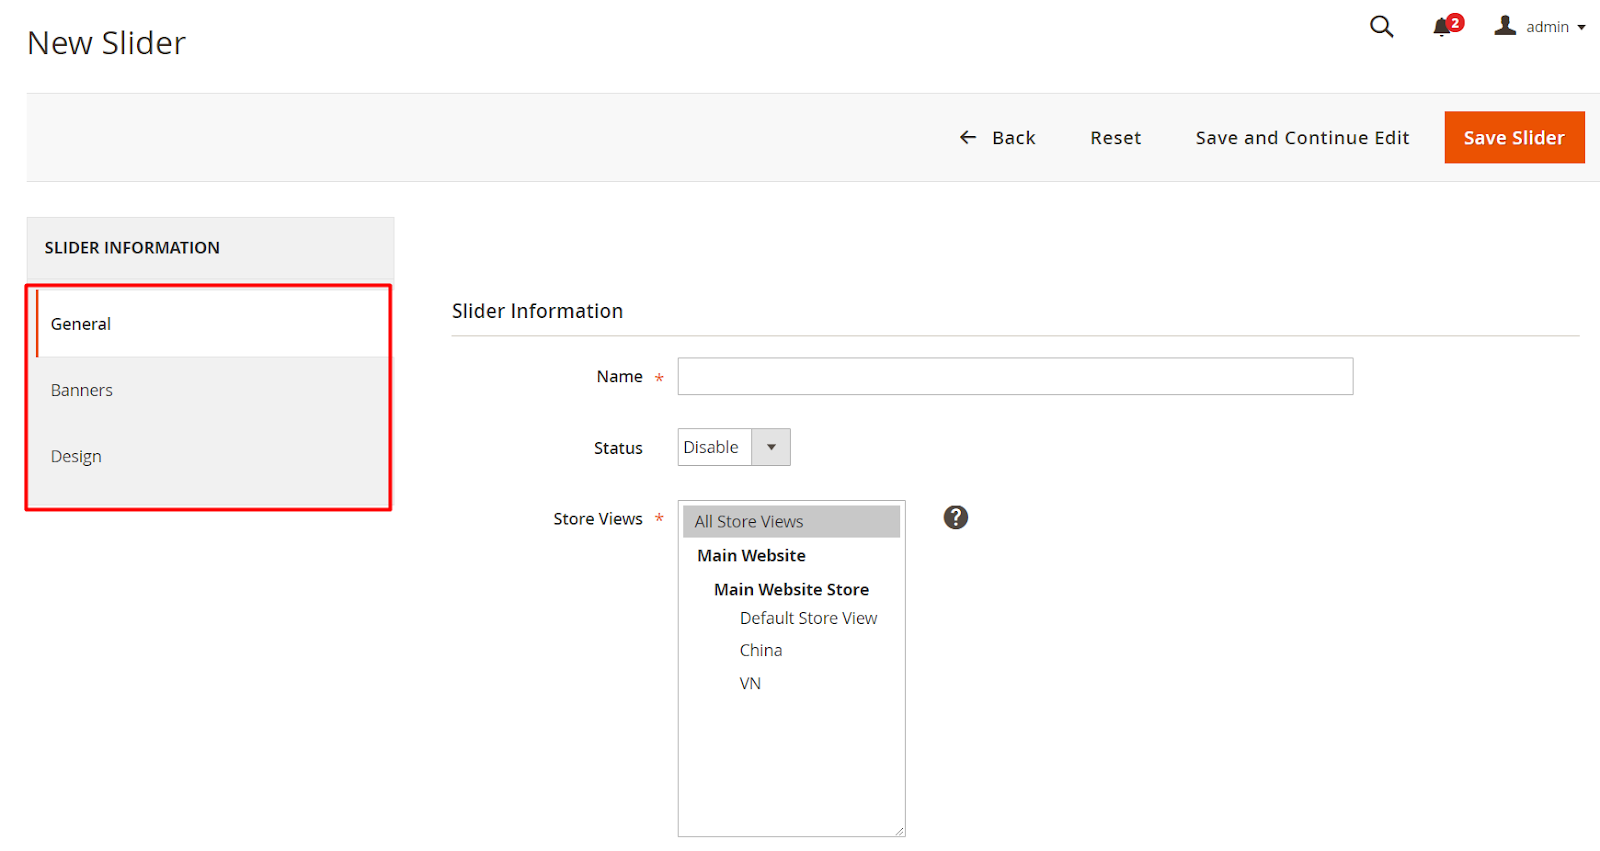
3.1. General
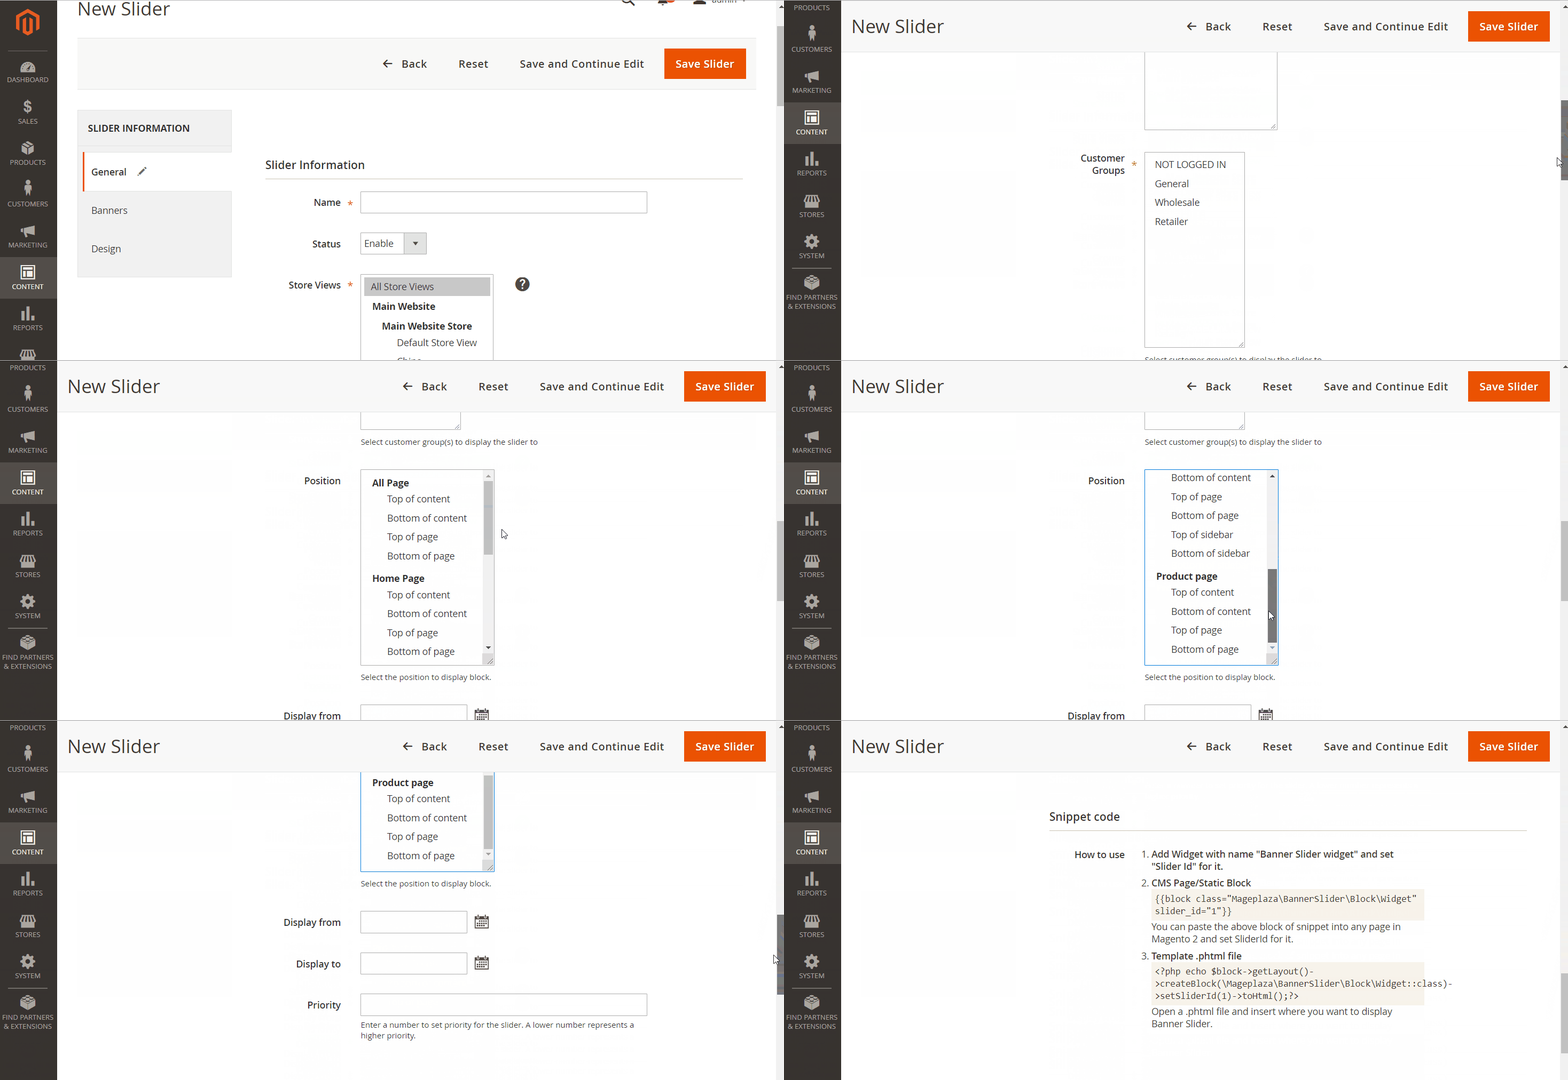
3.1.1. Slider Information
Name: The name of the slider filled in this section is only displayed in the backend. It helps distinguish from other products.Status: Select "Enable" to use the Slider. It helps to view the banner in the most convenient way.Position: Select the position to appear the sliders on the user interface.
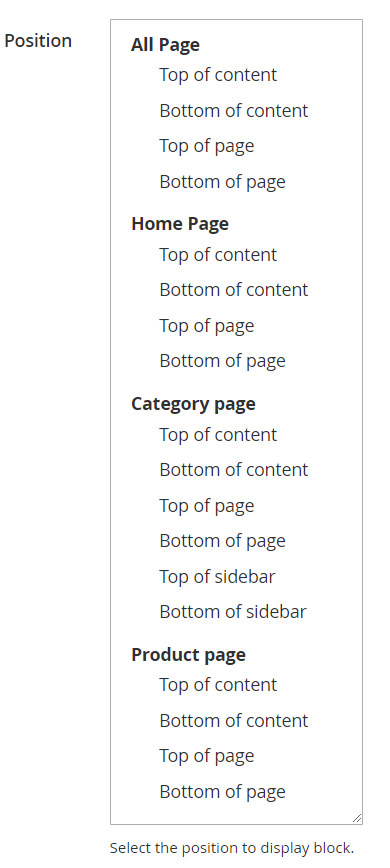
Store View: Select the Store View where the Slider is displayed. With unselected store views, the slider will not appear.Customer Groups: The slider is only visible on selected customer groups.Active from: Allows you to set the start date using Slider. Sliders will not appear on the user interface if the date is not displayed.Active to: Allows setting the end date for which the Slider is used. After this date, the slider will be hidden from the user interface.Priority: - Enter the priority for Sliders.- The sliders have the smaller priority number, the priority is higher
3.1.2. Snippet code
In this section, for each slider, you can use Widgets to choose the diplay position that you want.
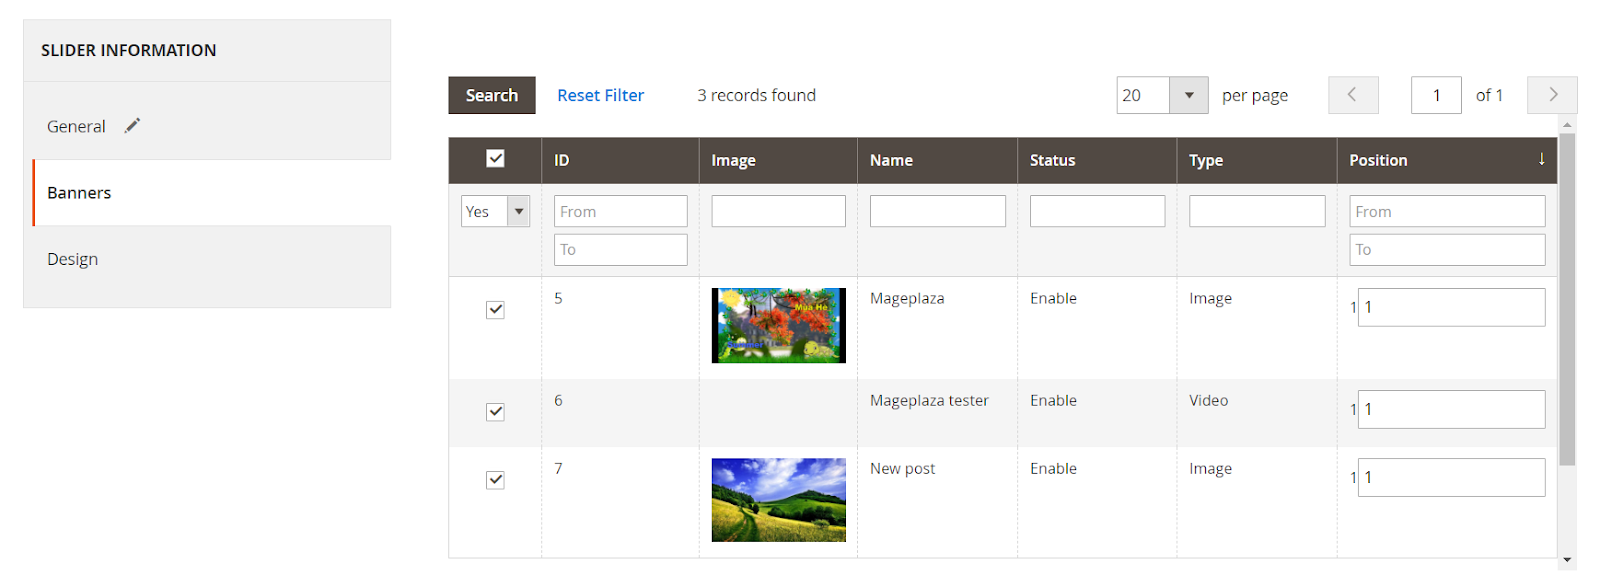
3.2. Banner
This section will record all information of the banner that you have created as Banner, Status, Type, etc. You can choose any banner you want to show on the sliders
3.3. Design
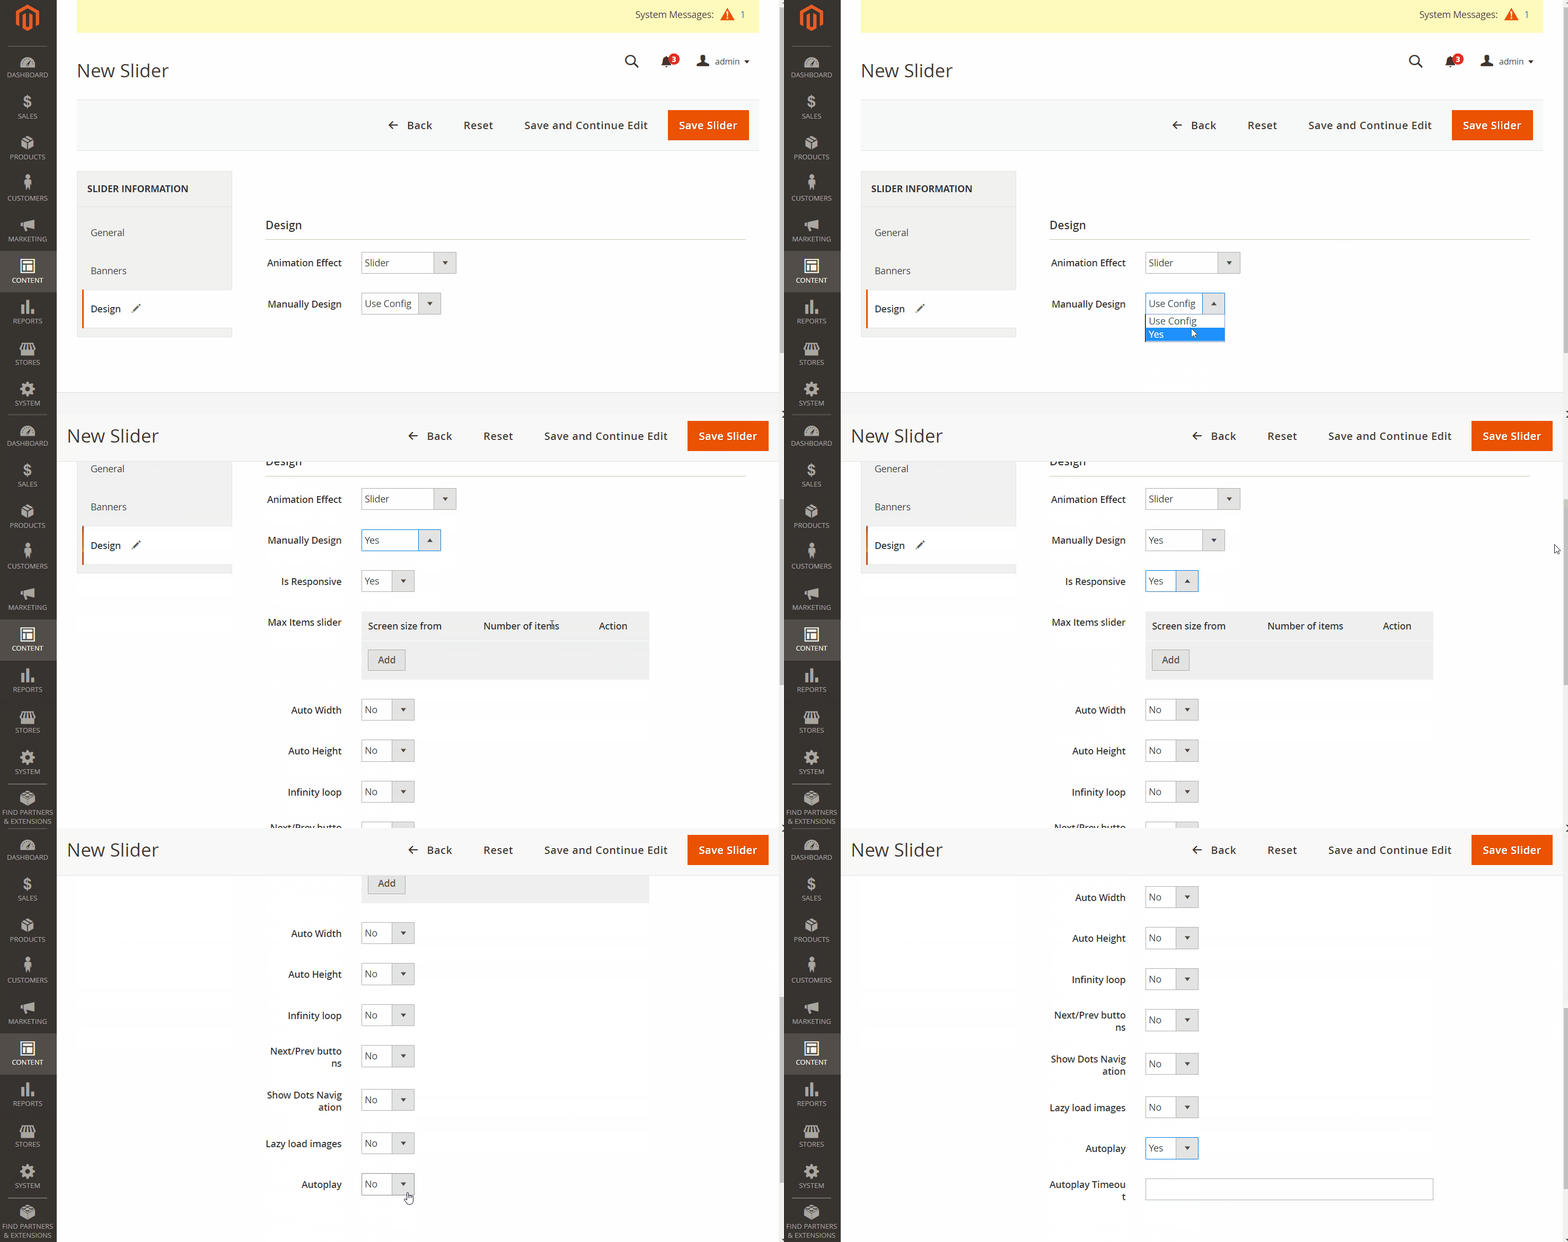
Annimation Effect: Choose the effect to show on the sliders
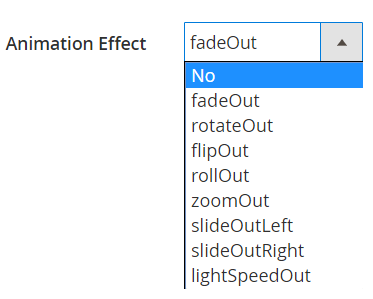
No:

FadeOut: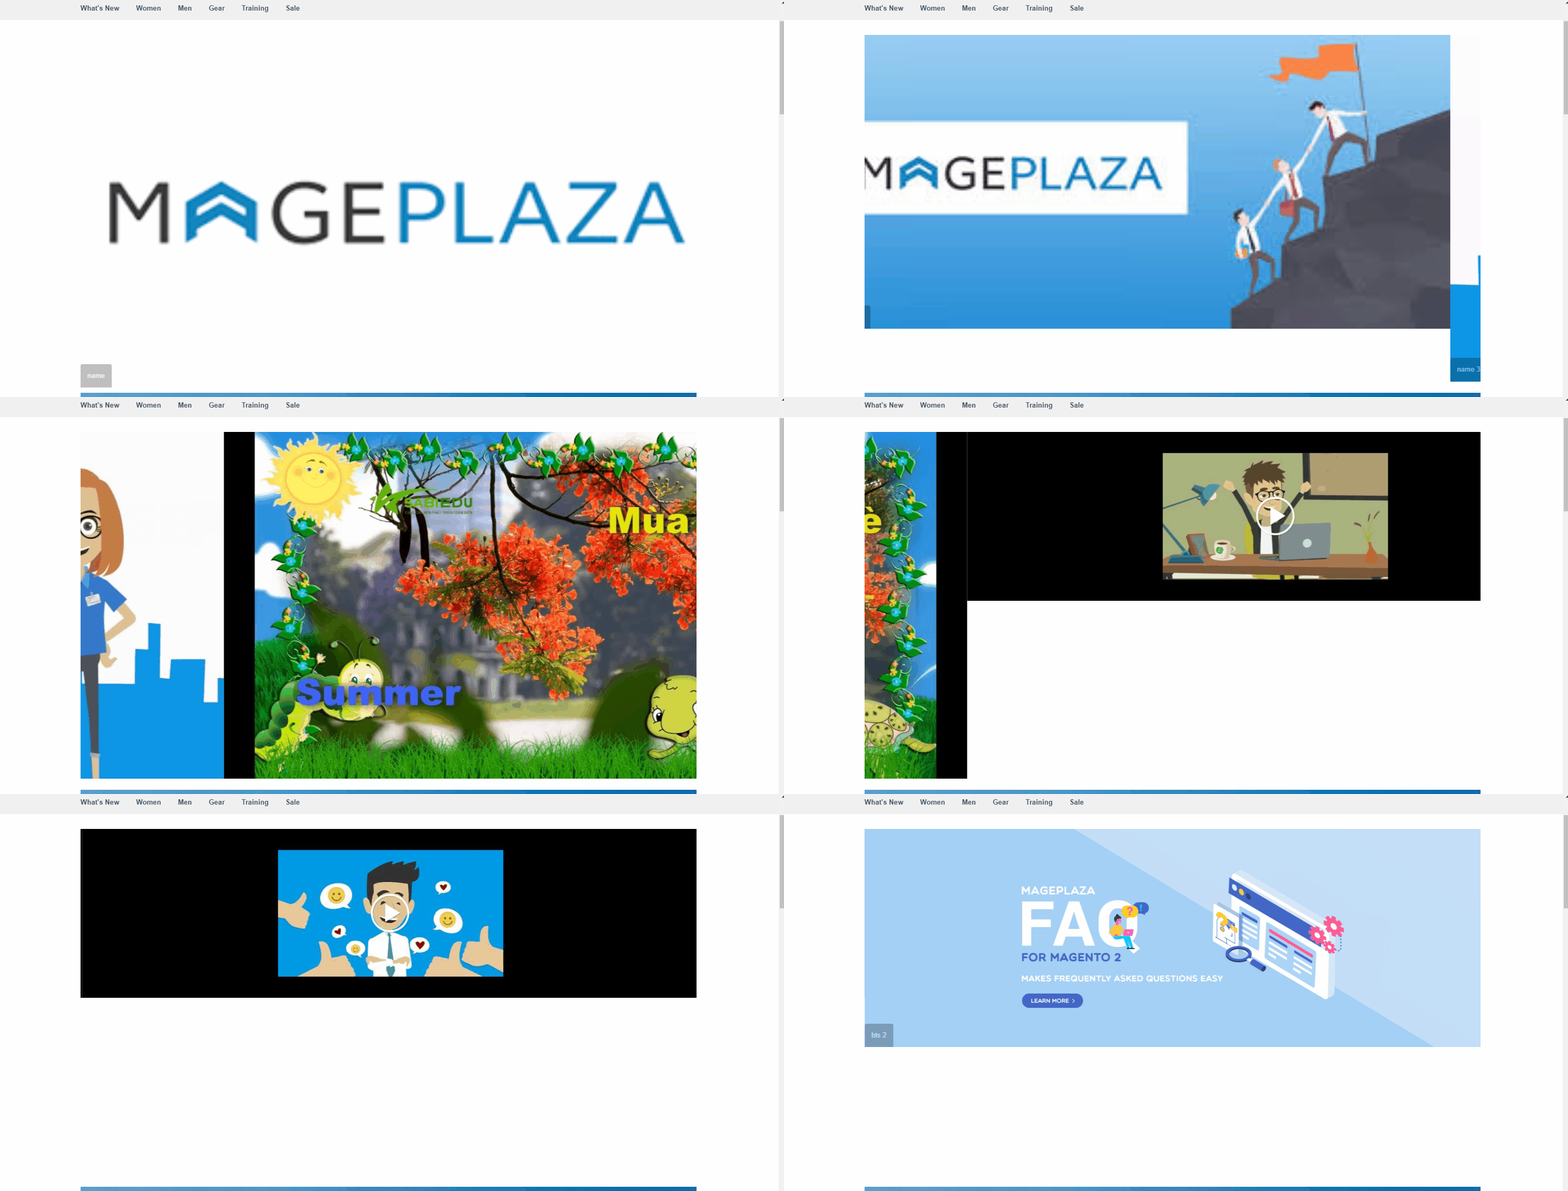
RotateOut:
FlipOut:
RollOut:
ZoomOut: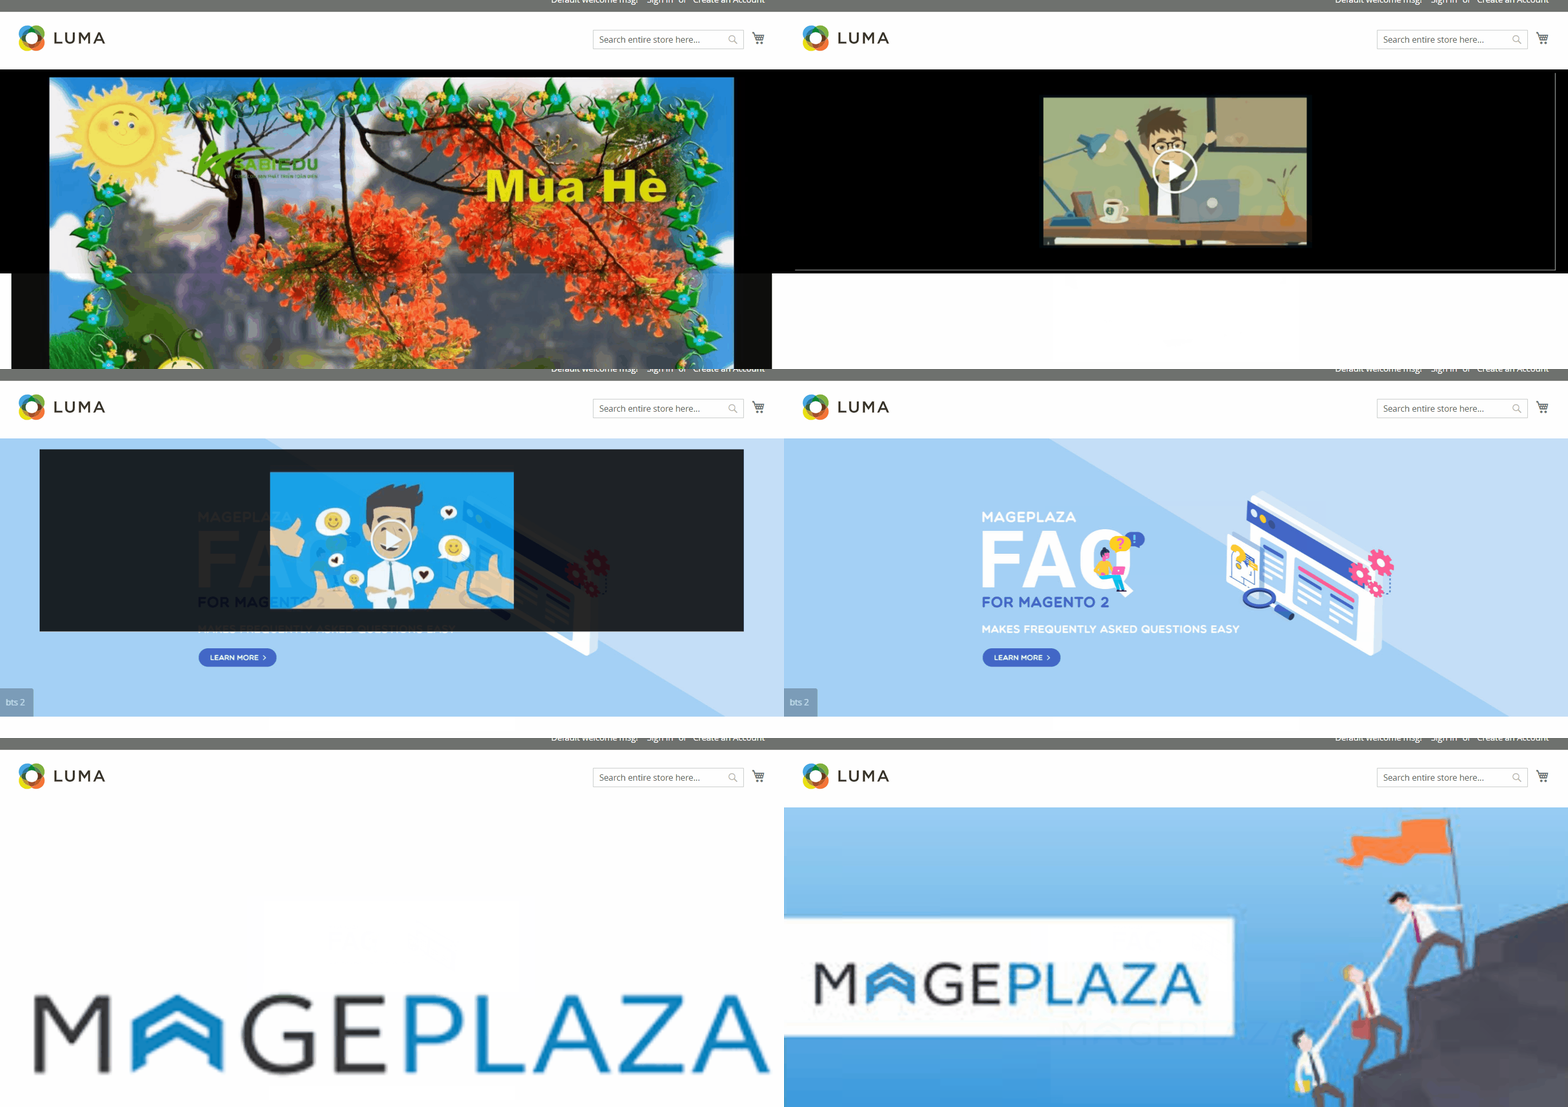
SlideOutLeft:
SlideOutRight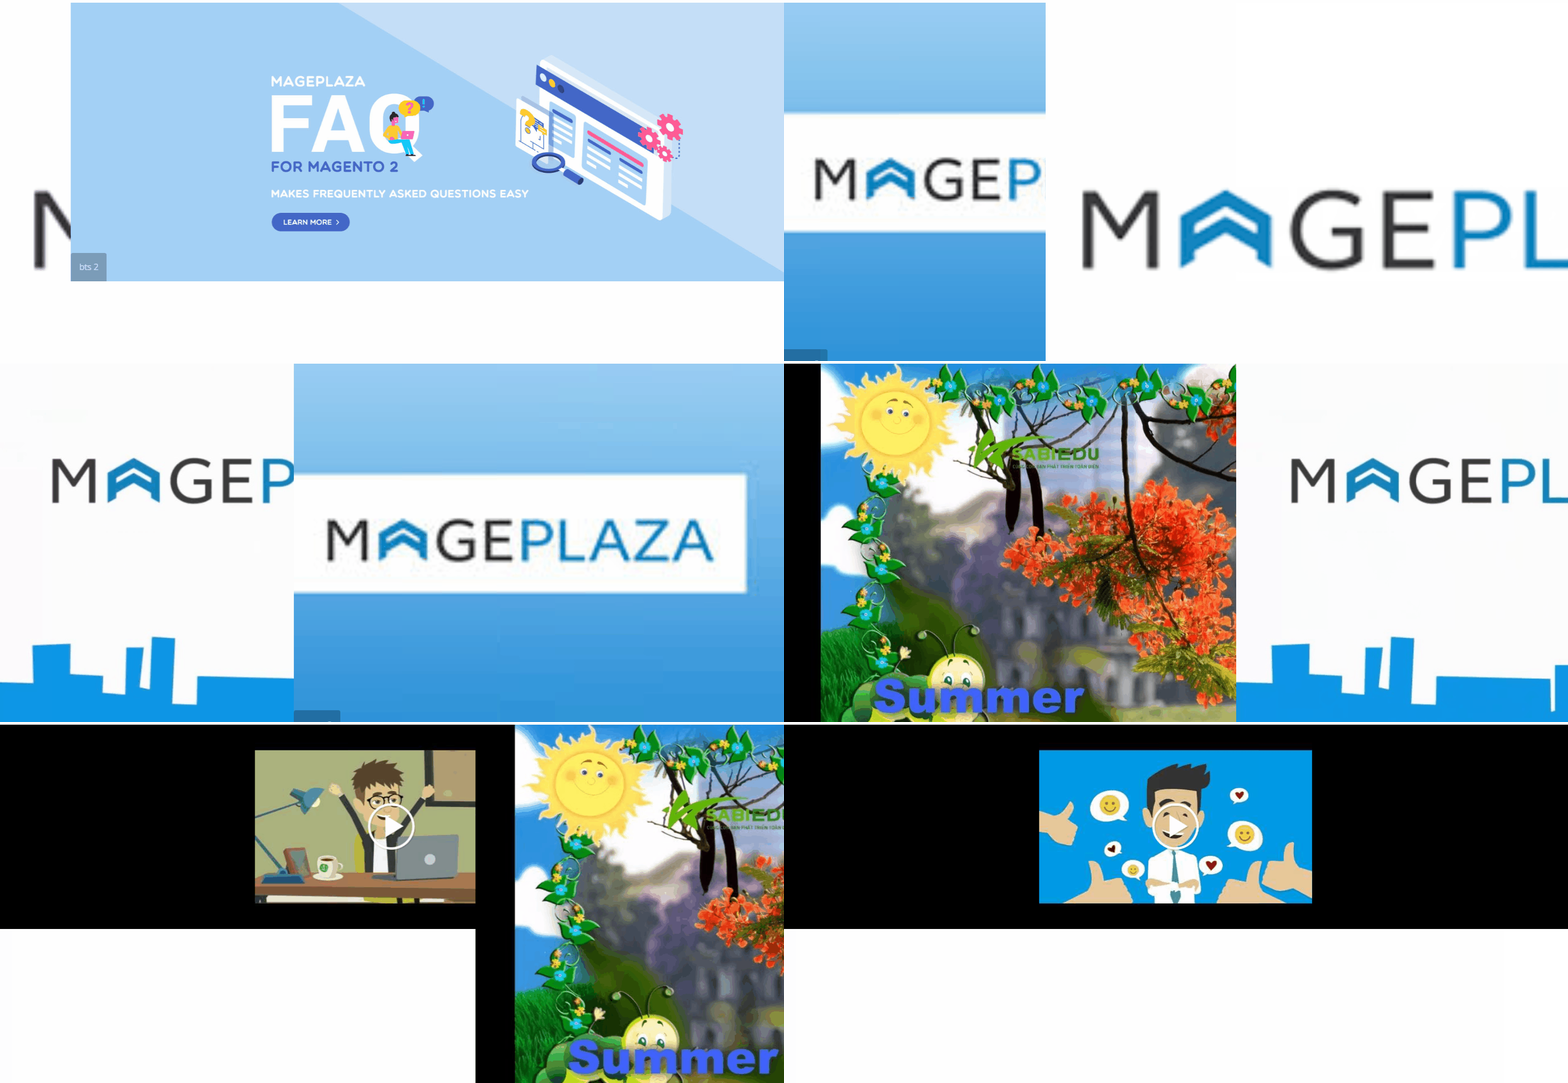
LightSpeedOut:
Manually Design: Select the data that is designed from:- Select
Use config: It will hide the fields below and retrieve the data from the configuration - Select "Yes" to display the design for the Sliders. This section allows you to customize your slider's design. These design functions correspond to the design in
Slider Design Configuration, you can refer to our instructions above.
- Select
4. Widget
In addition to your existing location, you can let Banner Slider appear anywhere you want. To create a widget, you need to perform the following steps:
- Step 1: From the Admin panel, go to
Content > Elements > Widgets, chooseAdd Widget - Step 2:
Settings > Type =Banner Slider widget,Design Theme = Magento Luma. ClickContinuebutton to move the next step
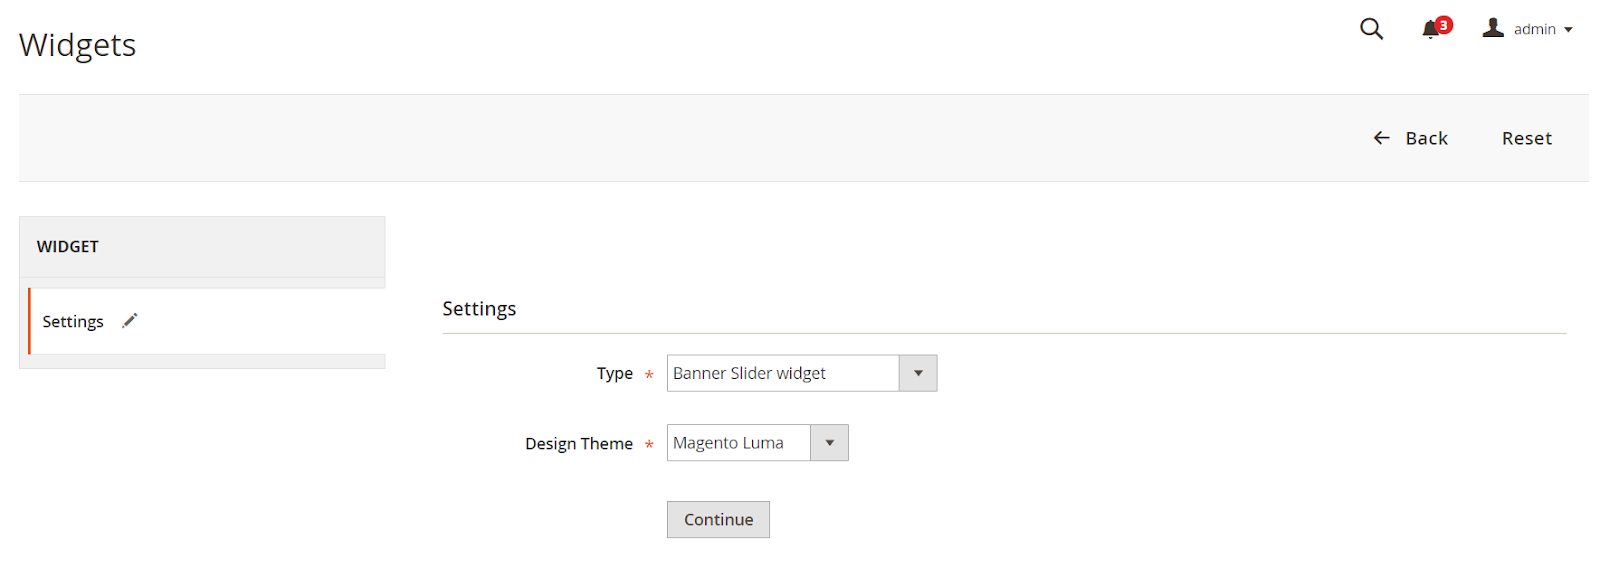
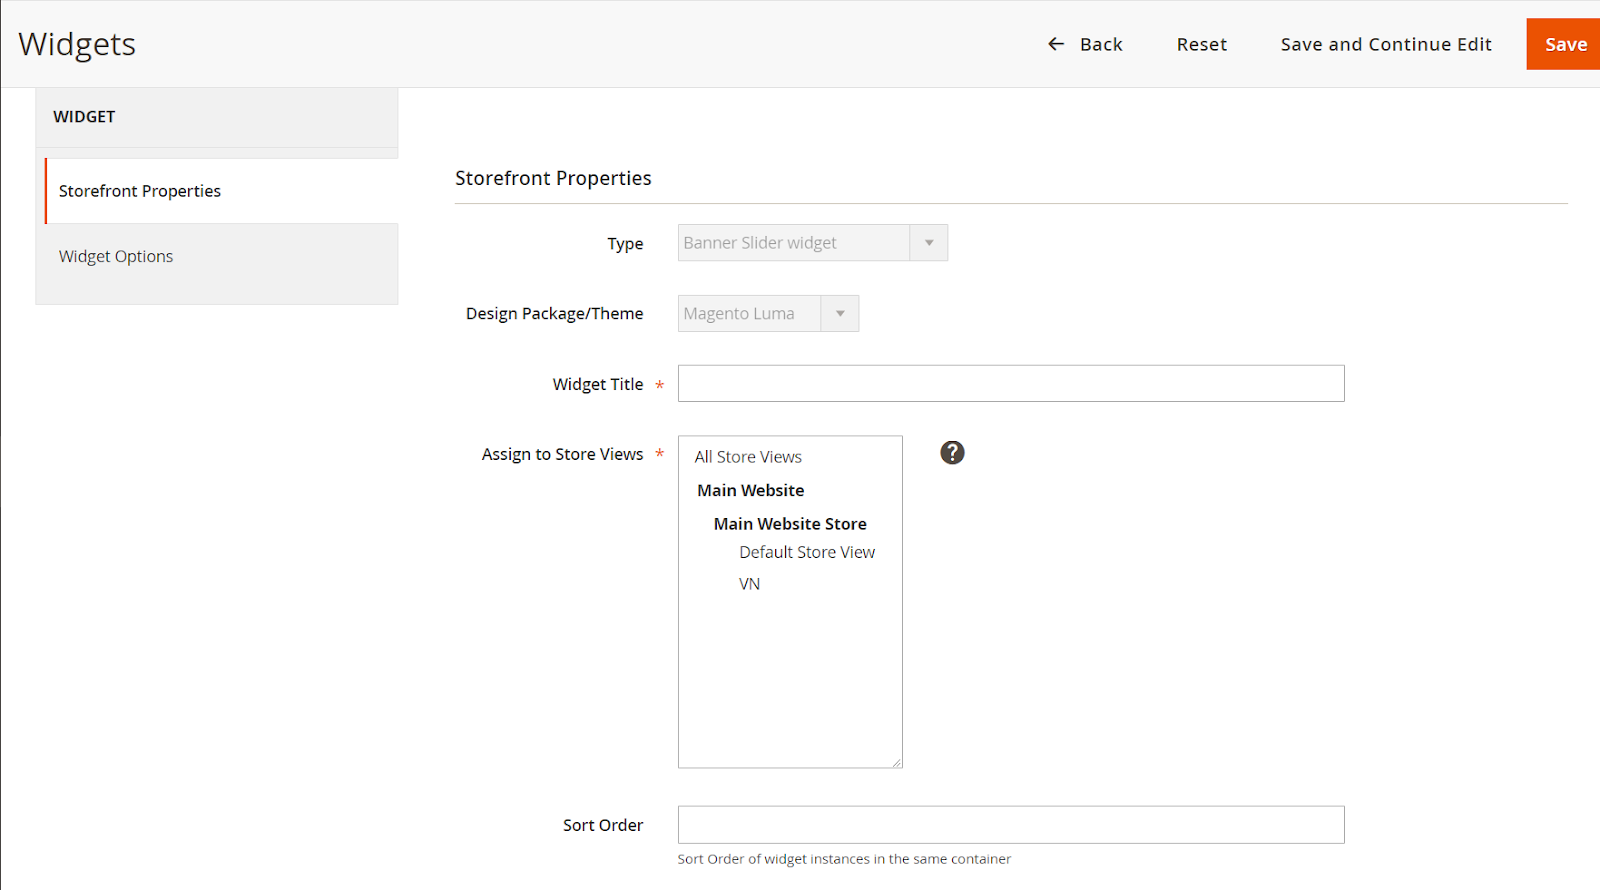
- Step 3: Enter the required information in the Storefront Properties
- Step 4: Choose the position to display the widget

- Step 5: Choose the slider that you want to show

- Step 6: Save the information and check on the user interface